Goldwing Rear Tire Change
Go to: Rear tire change summary page.
Go to: Trunk lower trim removal.
Go to: Saddlebag removal.
This page: Wheel removal.
Go to: Coupling cleaning and lubrication.
Go to: Driveshaft maintainence.
Return to: Jim's Goldwing page.
Note: you can click on each picture to see a full size picture.
On the left side:
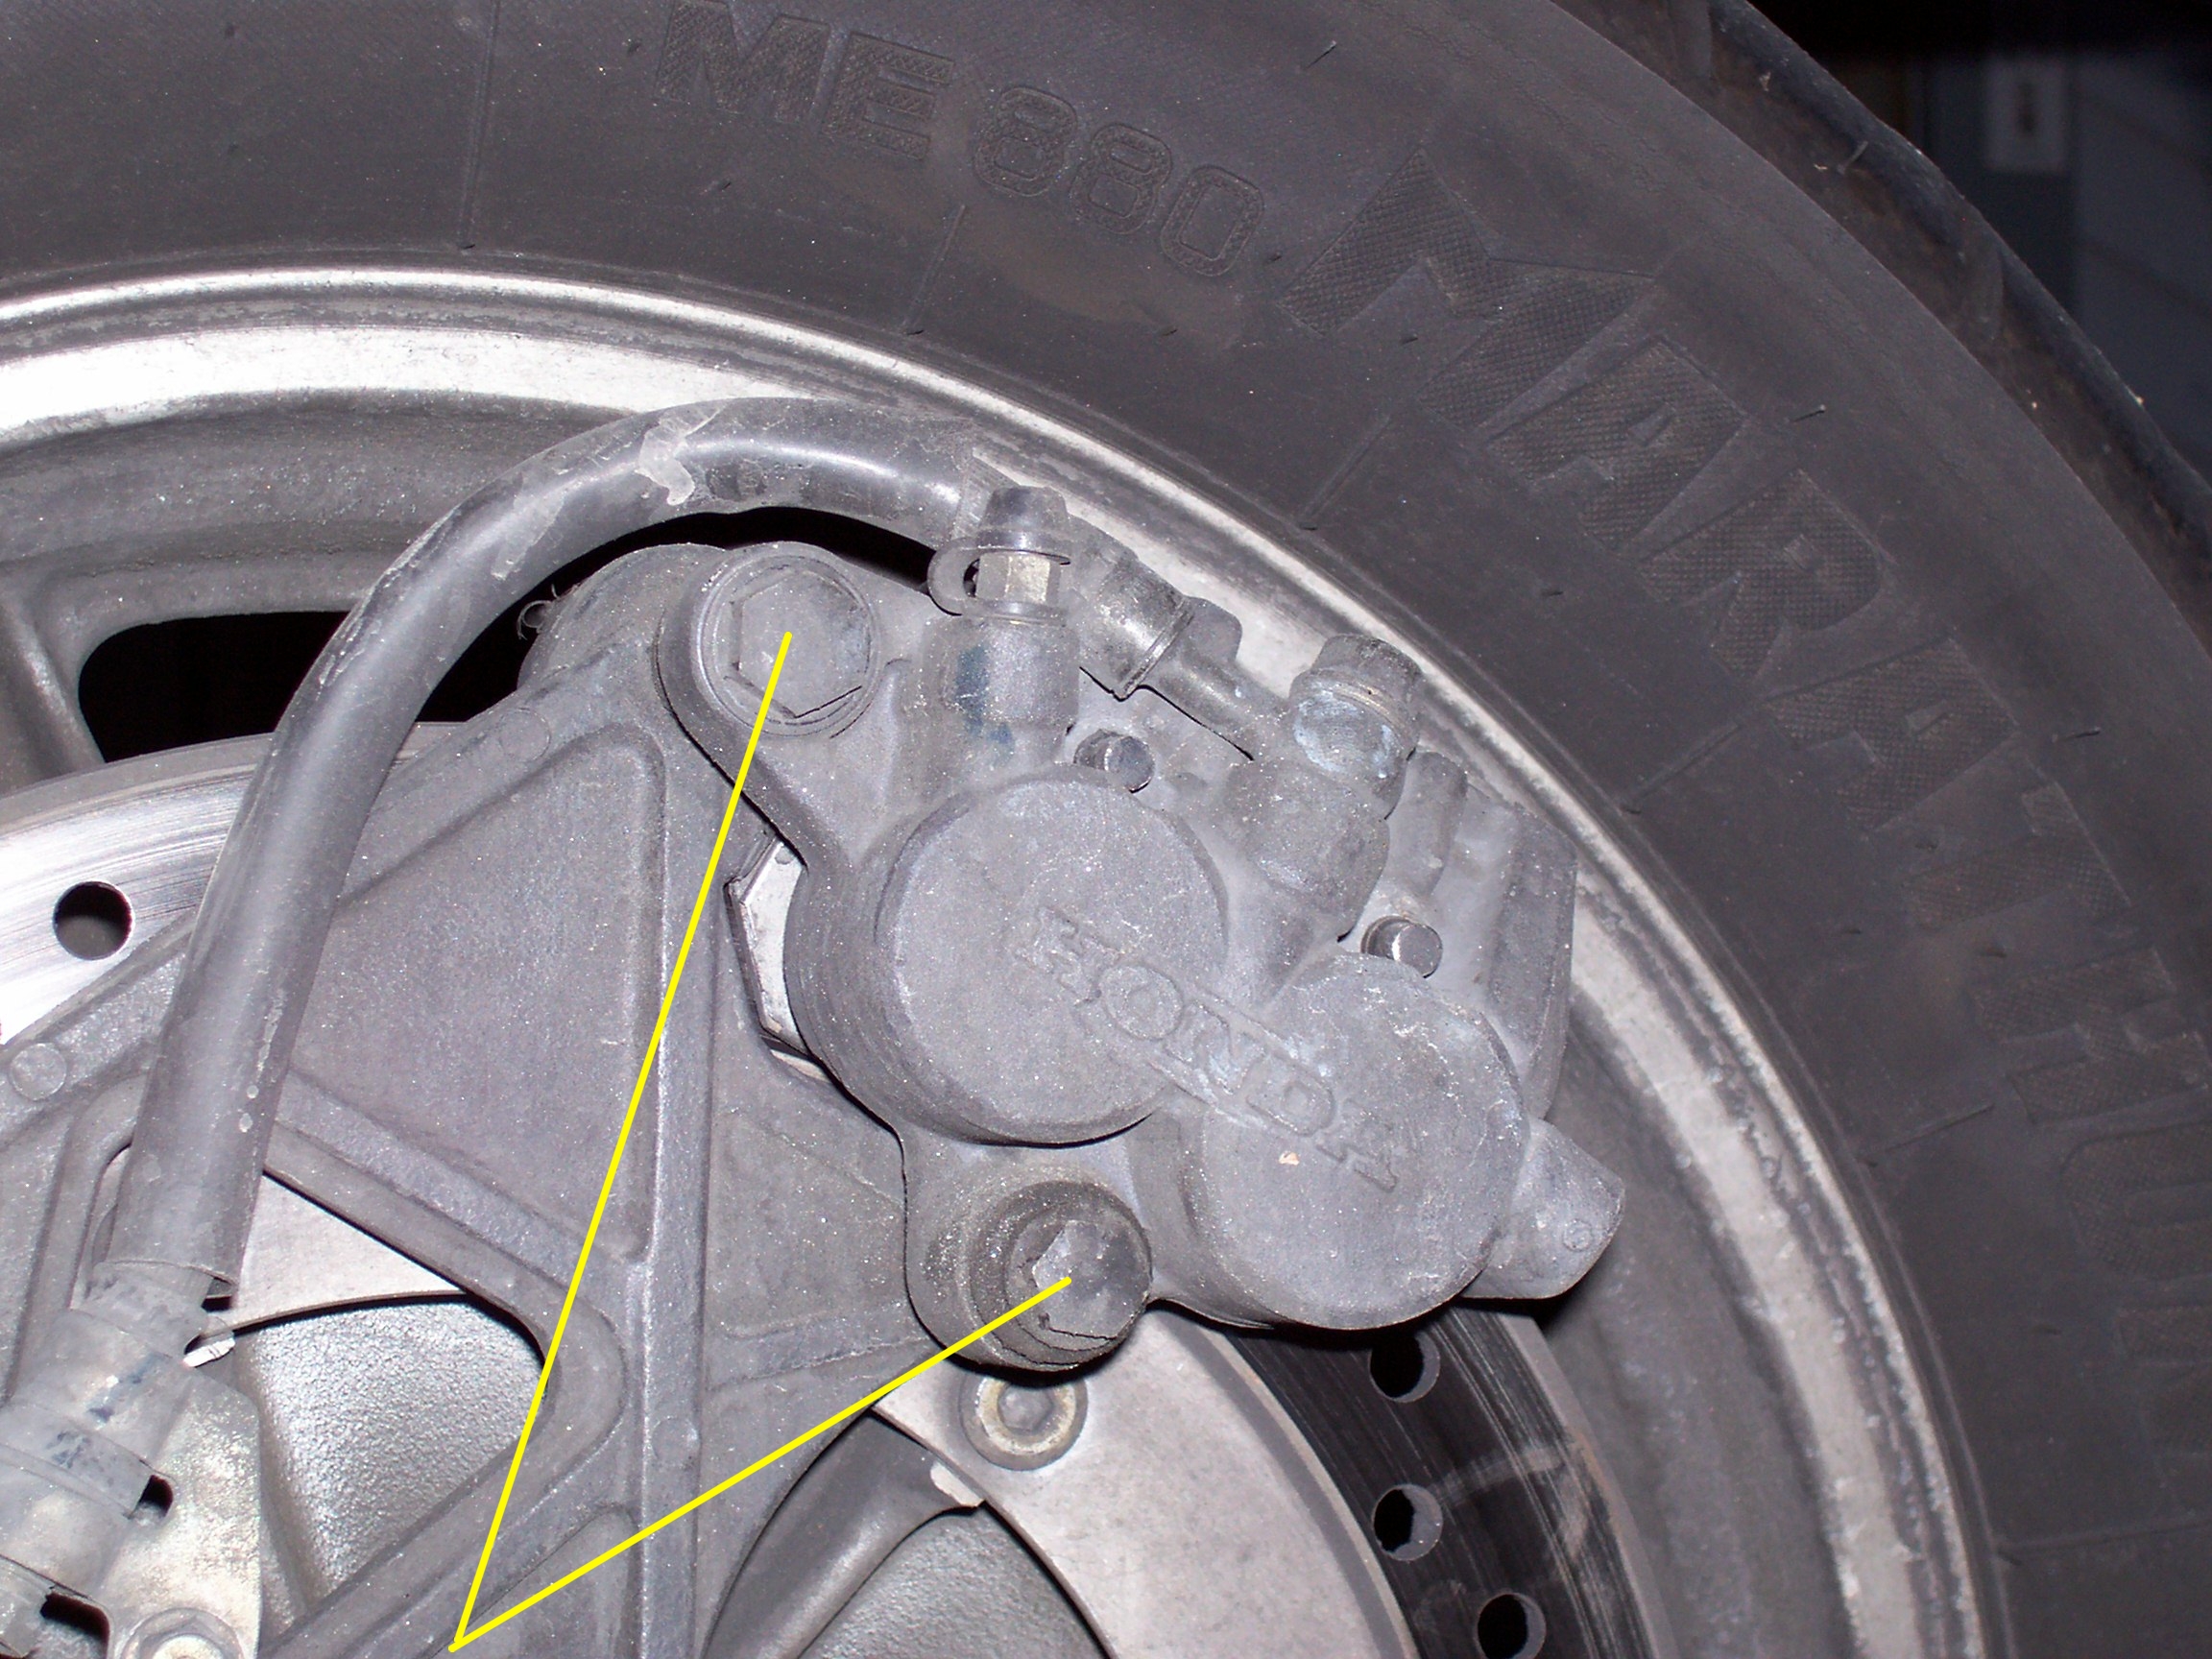
Remove the brake caliper. There are two bolts.
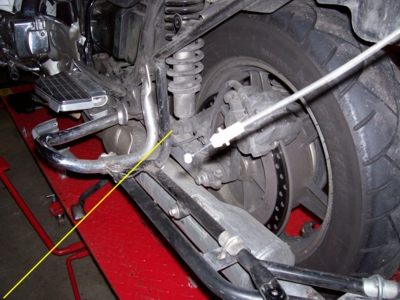
Remove the lower shock bolt. (this also holds the caliper bracket in place.)
|
|
|
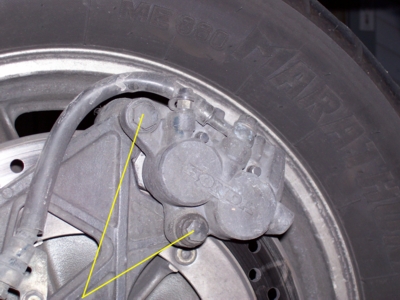
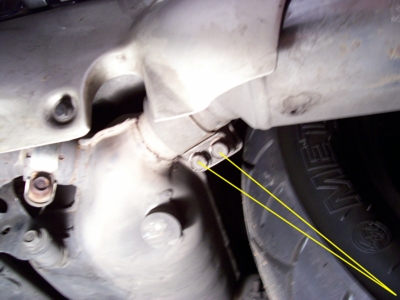
Caliper slide bolts. Remove both bolts to remove caliper.
|
Lower shock bolt.
|
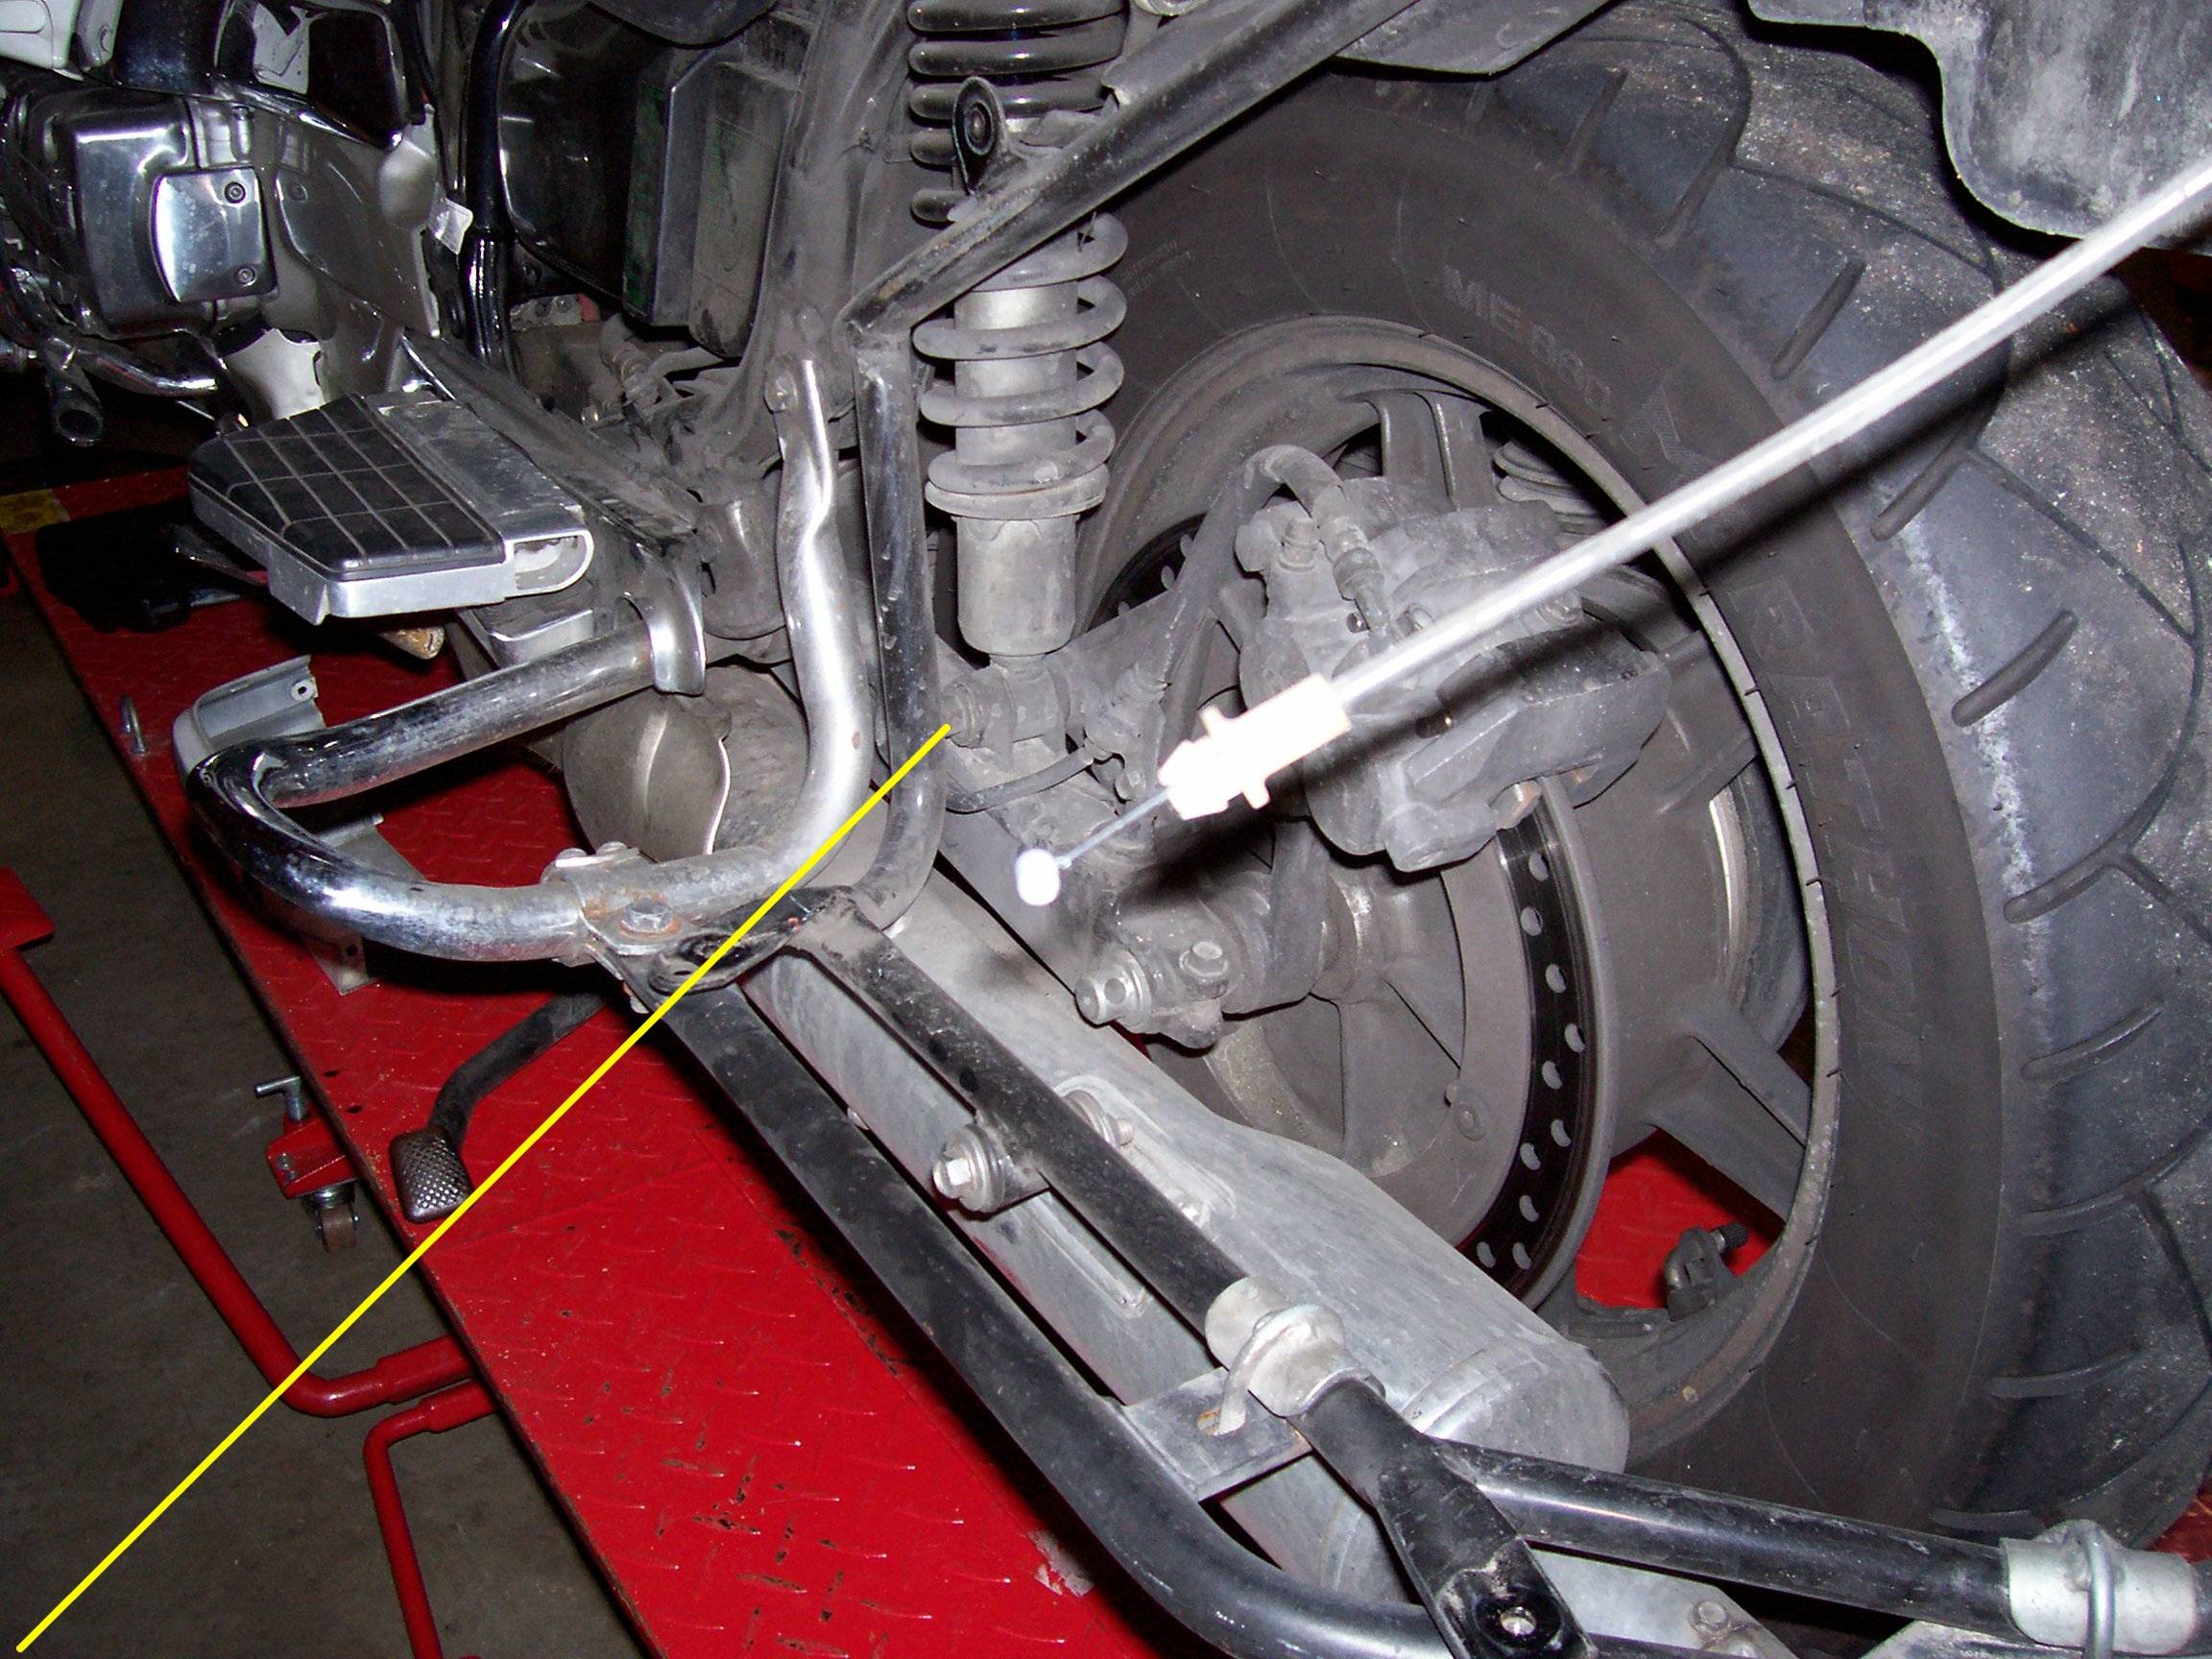
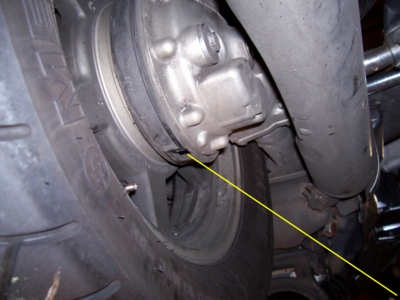
Loosen the two muffler clamp bolts. They are side by side.
Then unbolt the rear muffler hanger bolt.
|
|
|
2 bolts on forward muffler clamp.
|
Rear muffler hanger bolt.
|
With out a trailer hitch, you can remove this bolt. With a trailer hitch, you will have to push the muffler inward to clear the bolt. Then push the muffler down. It should only need to drop a couple inches, and that's about all you will be able to push it down. It only needs to move down enough to be able to slide the axle out. Mine wouldn't go down enough and stay there. I had to hold it down with one hand while pulling the axle out with the other hand. We aren't that far yet, so only push it down enough to make sure that it is moveable.
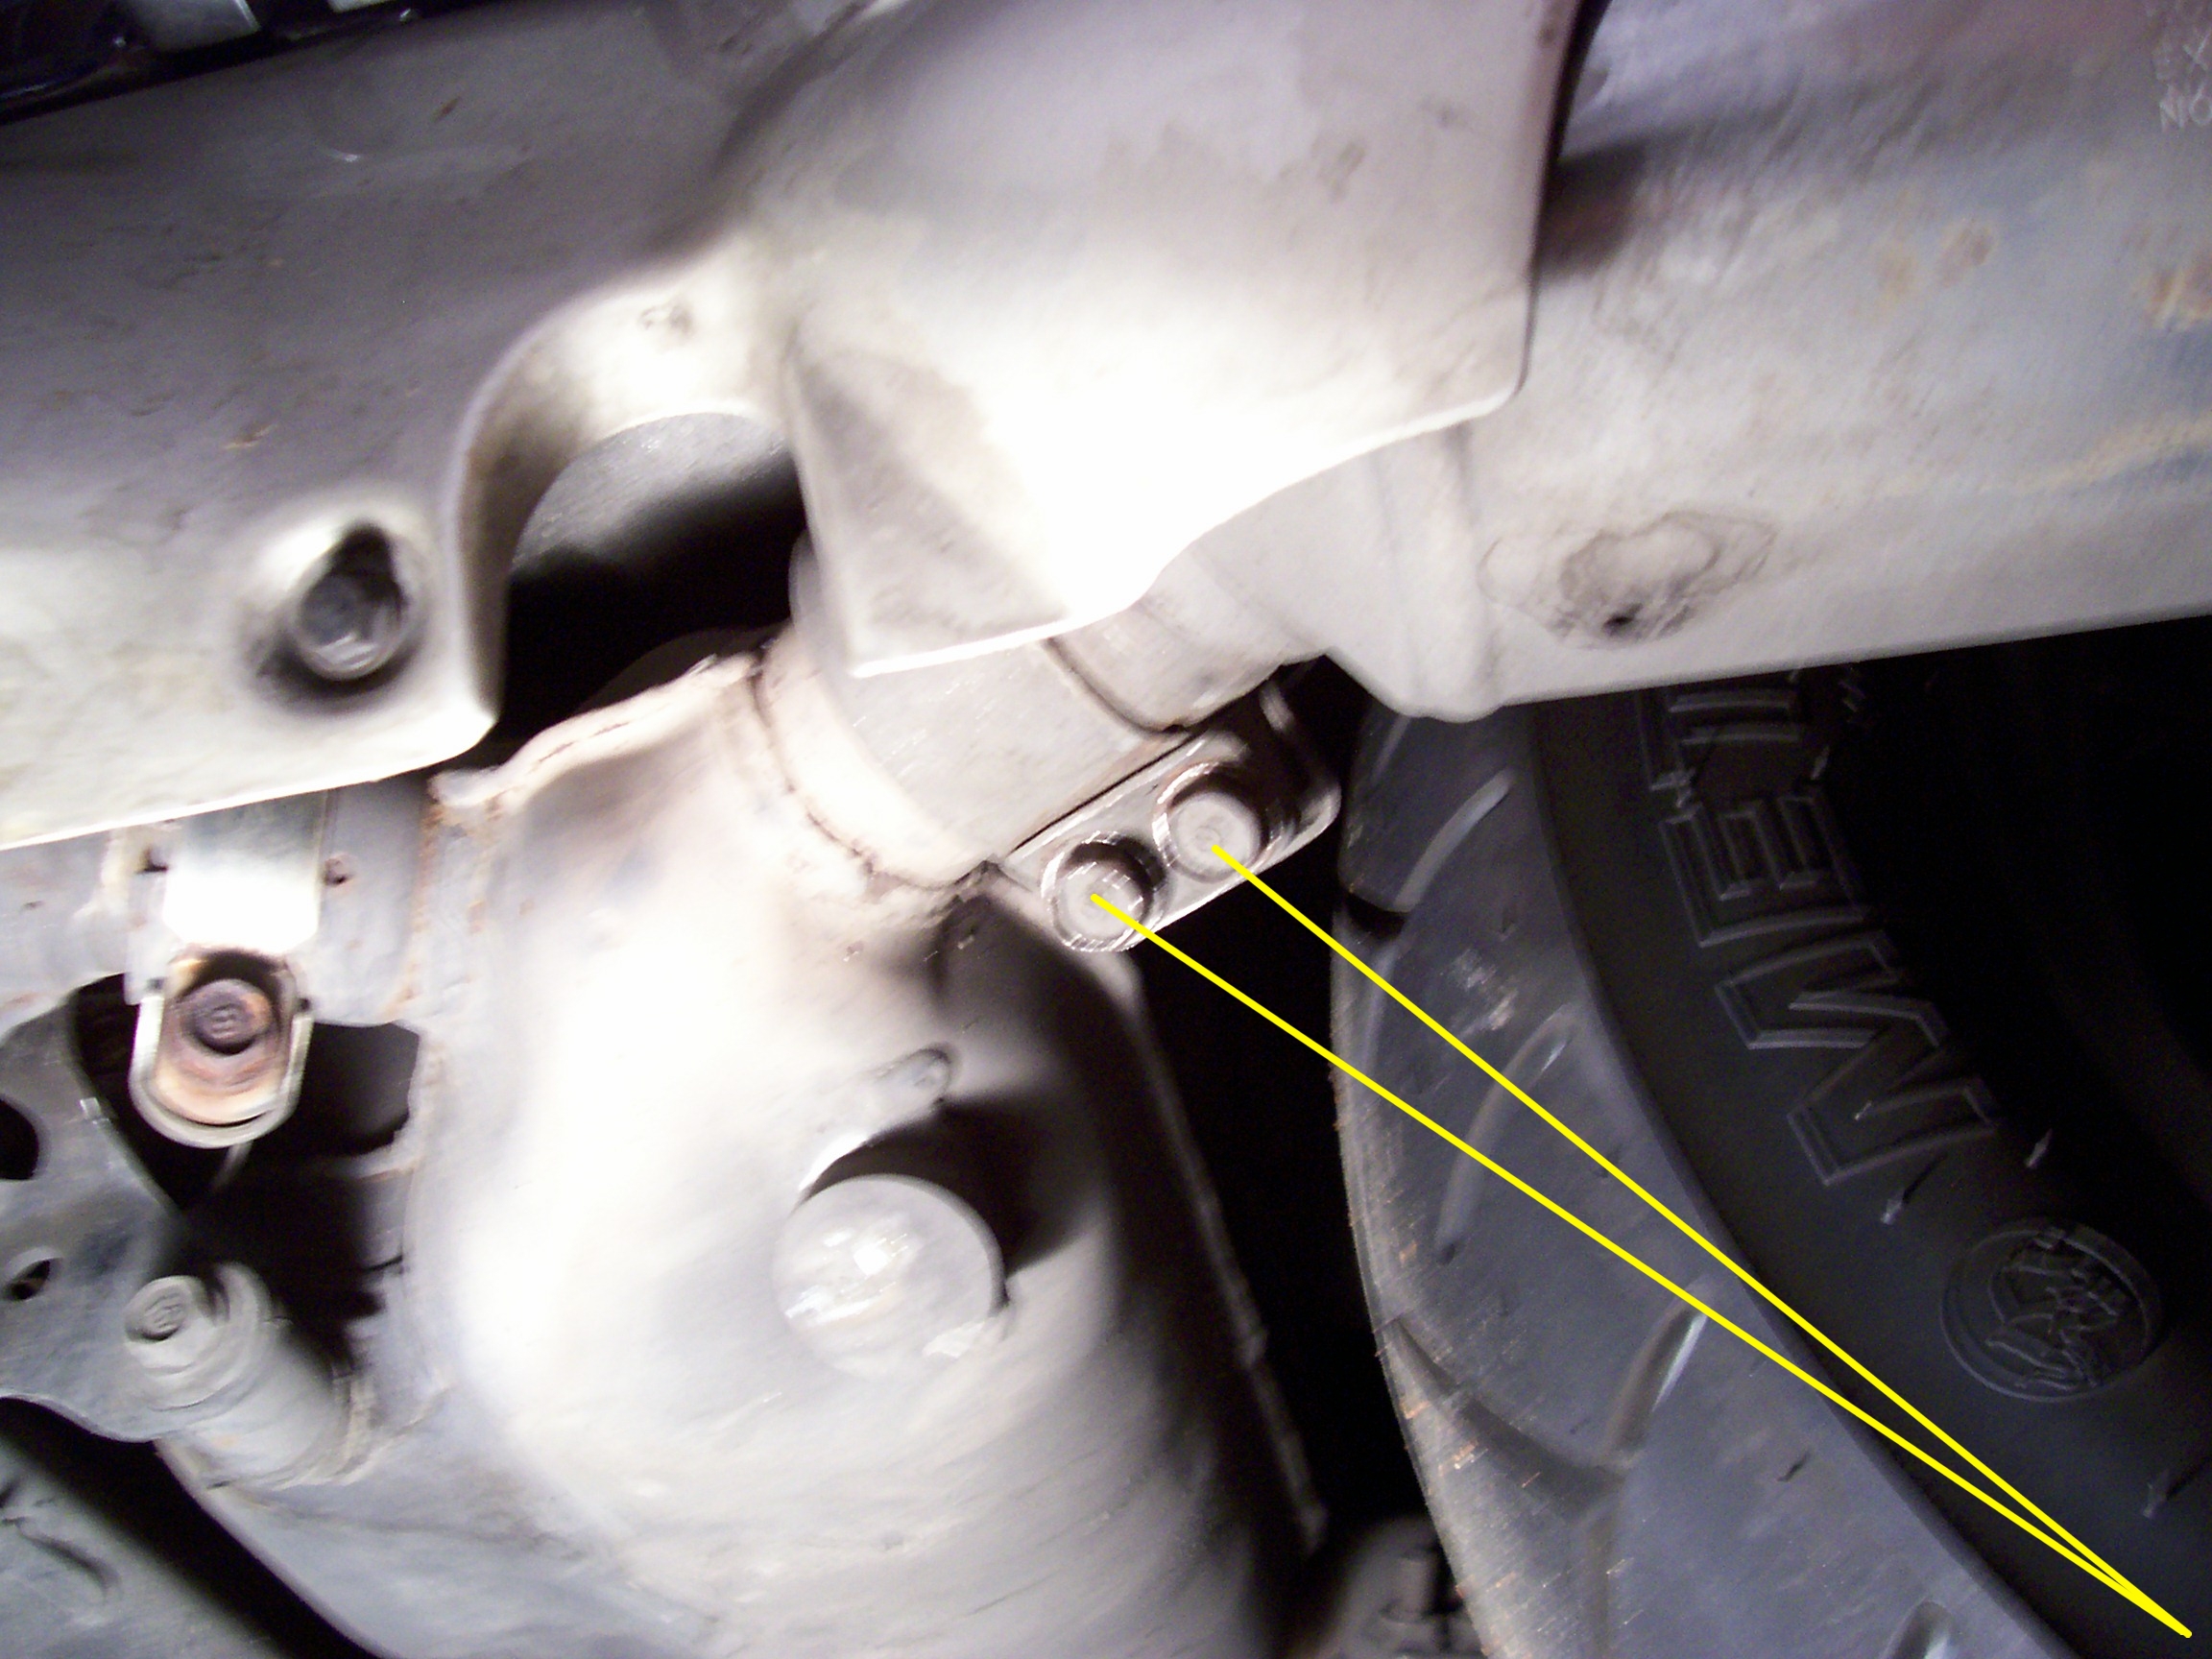
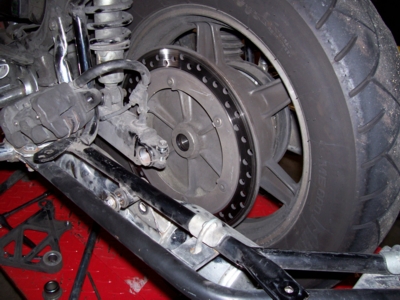
Next on the right side, loosen and remove the axle nut. The axle nut may not come off if there isn't enough clearance between the end of the axle and the right muffler. Don't worry about it. You'll have more room when you start to pull the axle out. But at least loosen the nut and back it off as far as you can at this point.
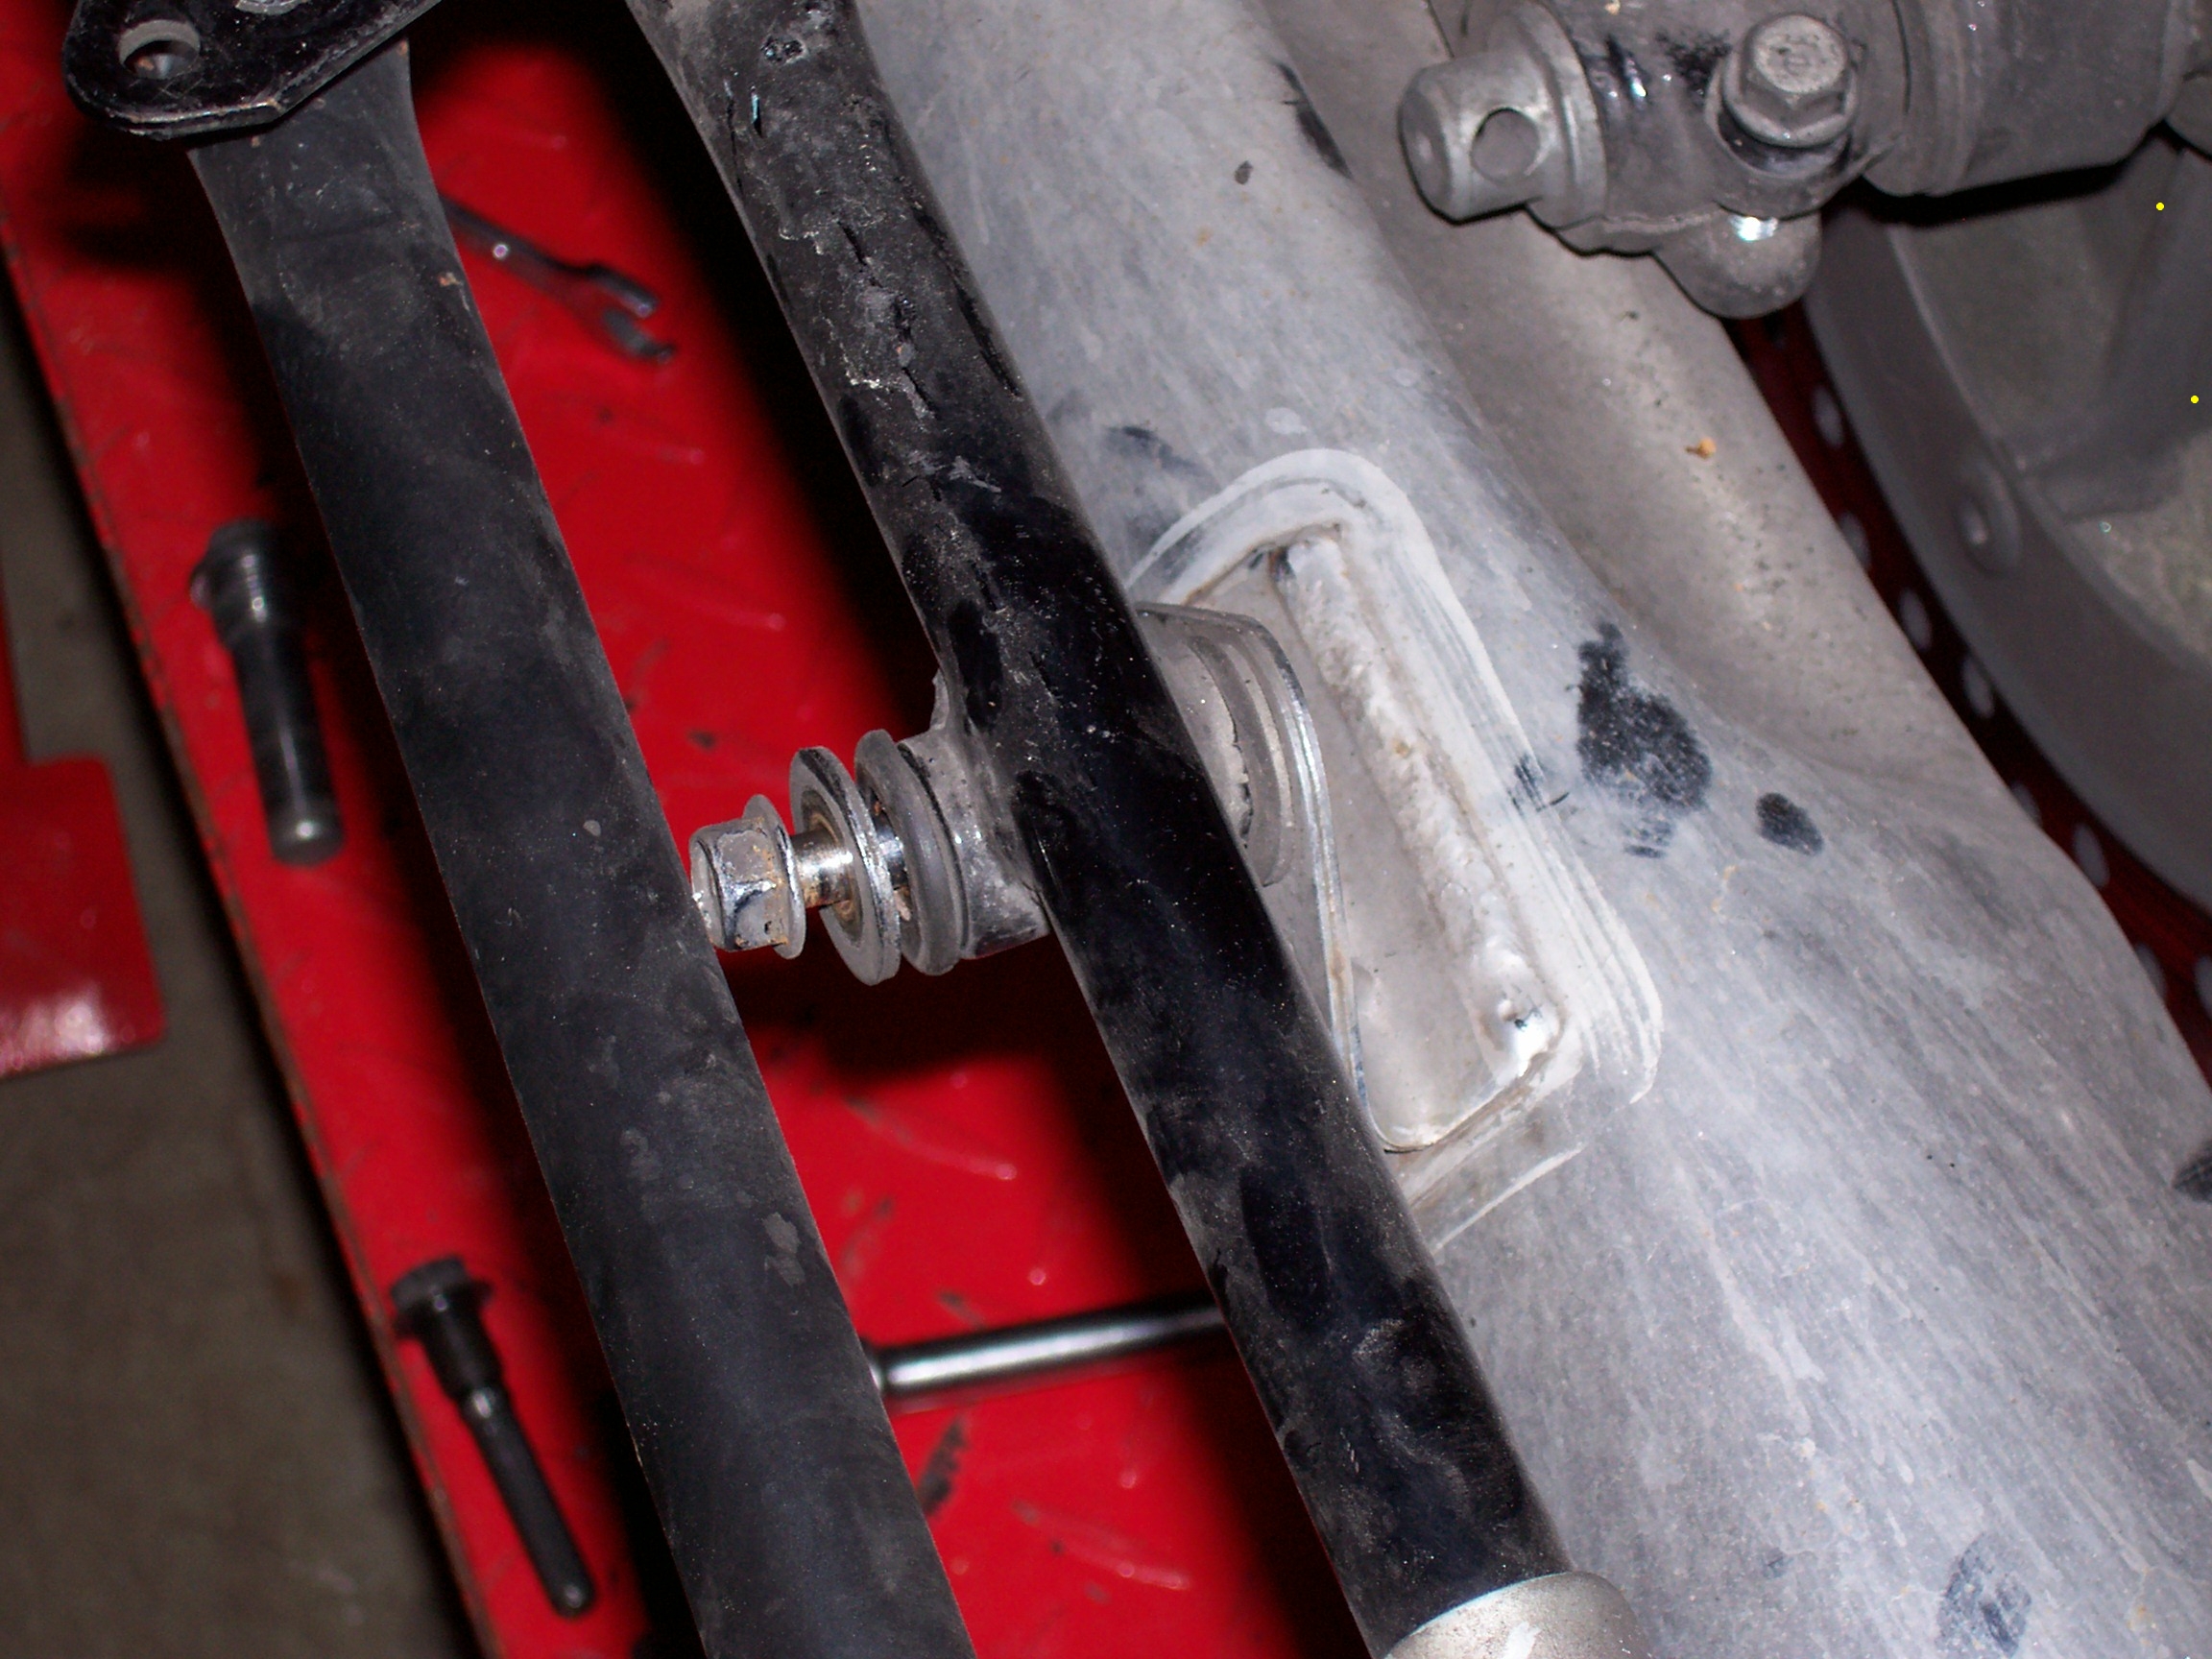
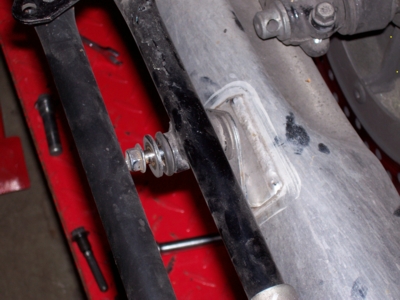
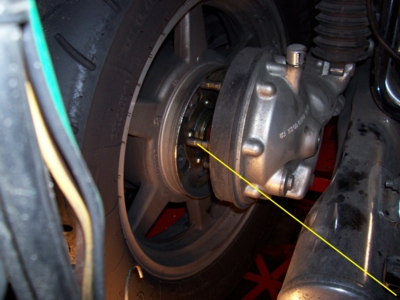
Back on the left side loosen the cinch bolt.
|

|
|
Axle nut (27mm).
|
Axle pinch bolt.
|
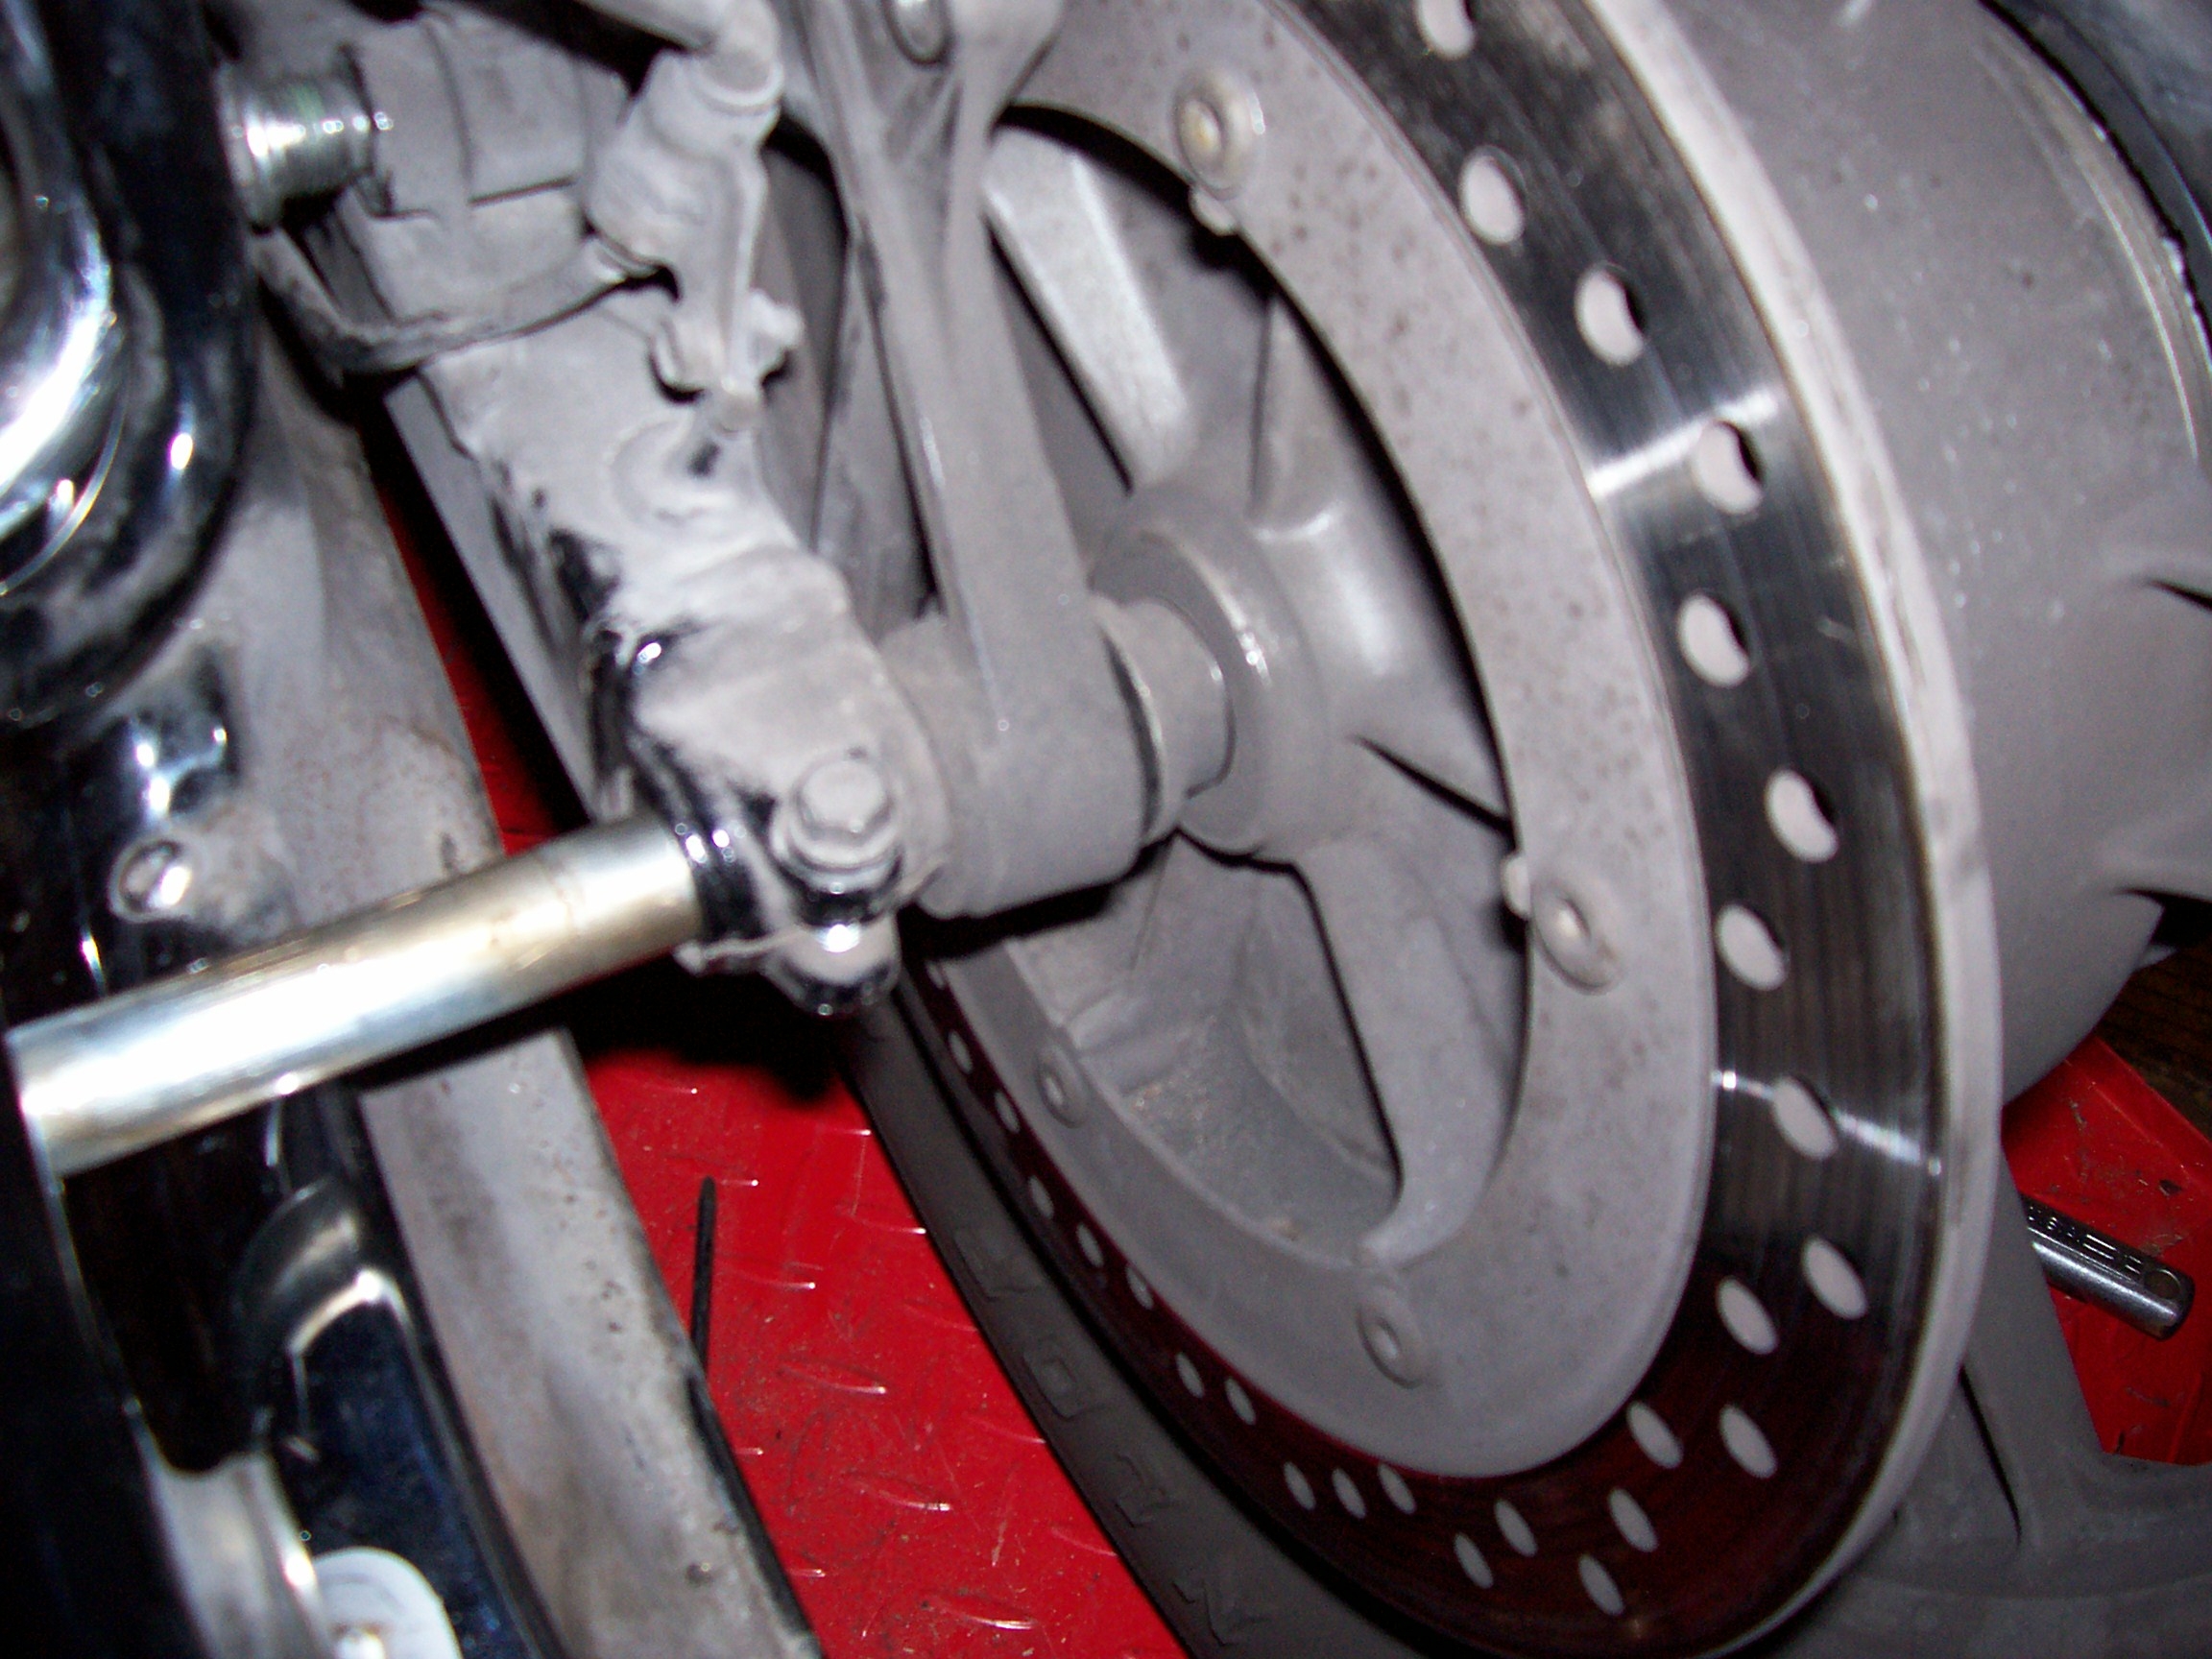
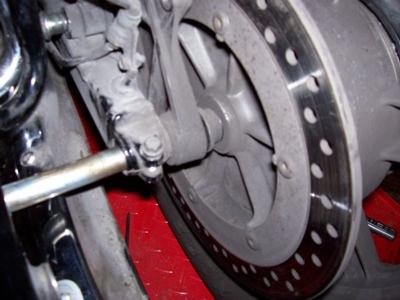
Then remove the axle.
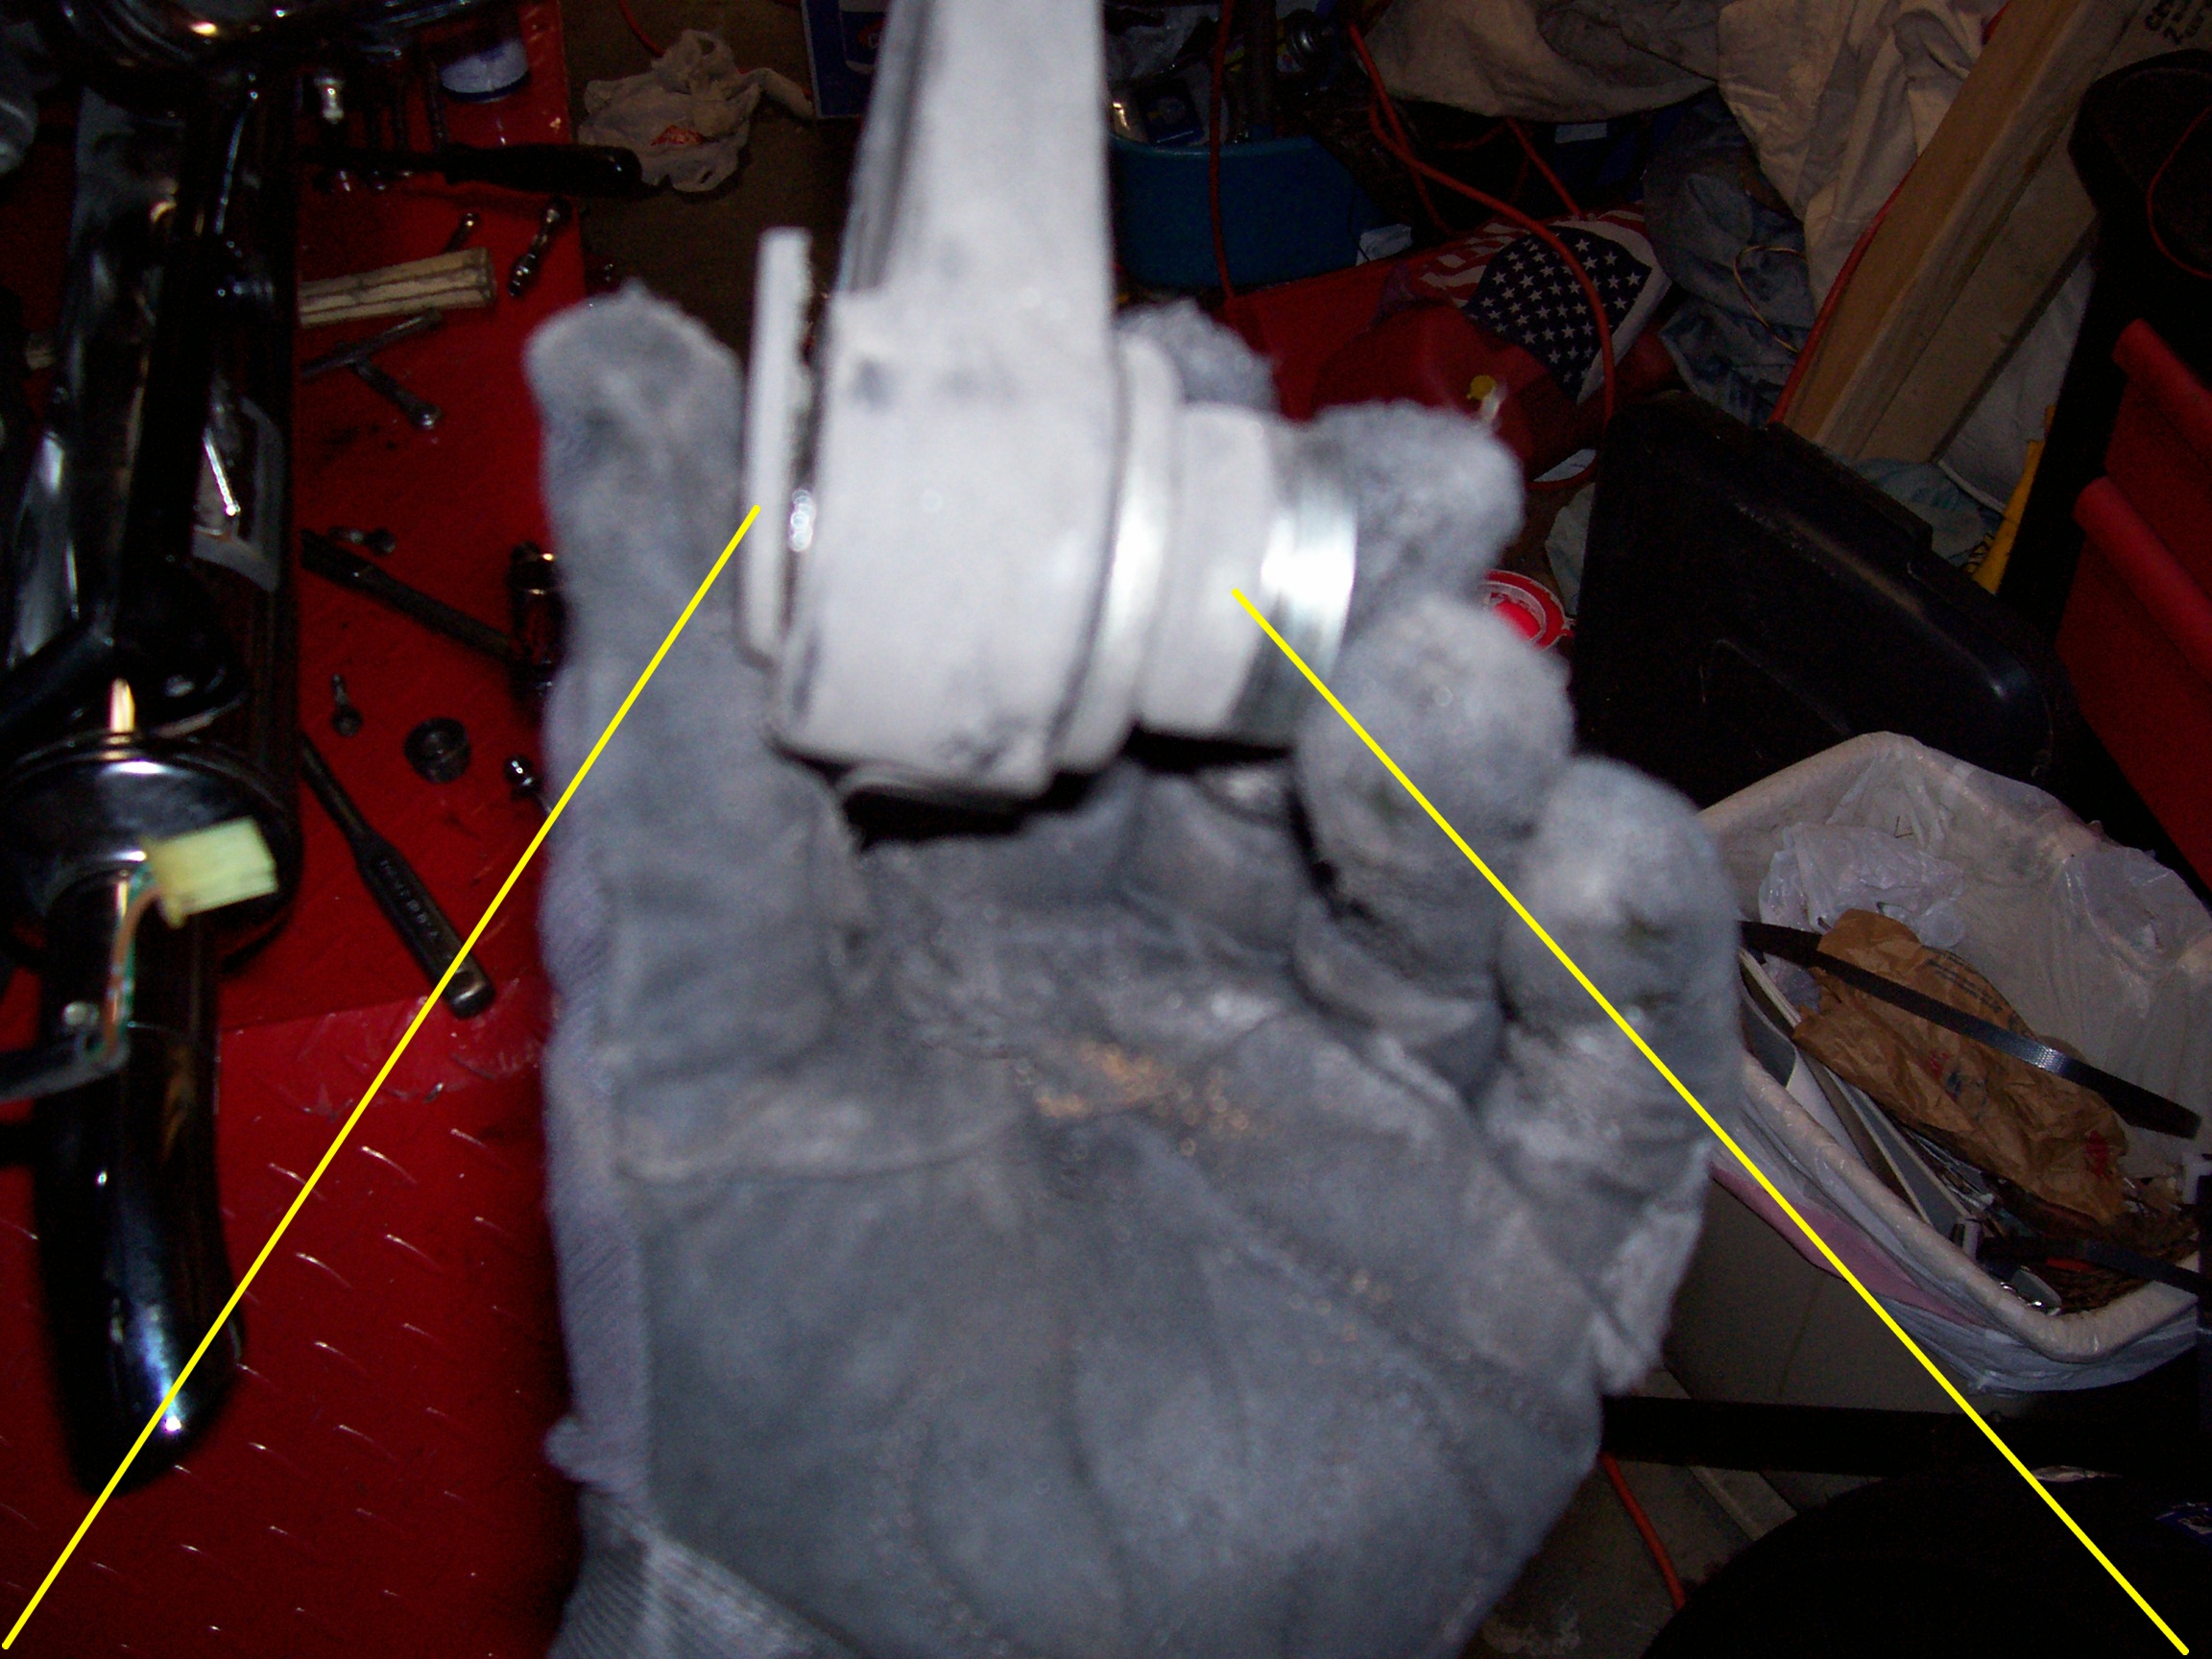
There is a washer that will drop out, then remove the caliper bracket and the collar that goes into the wheel.
|
|
|
Pulling the axle.
|
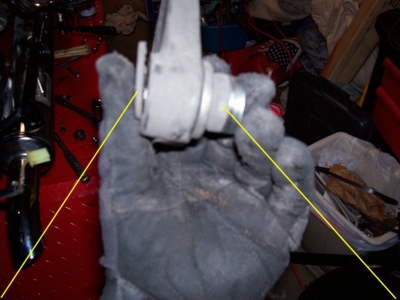
The washer, caliper bracket and collar.
|
Slide the wheel to the left to disengage the coupling splines from the final drive. However, sometimes, the coupling will disengage from the wheel first. This is bad, because you can't get the wheel out and you have to try to line the wheel back up with the coupling and put it back together. Big pain in the neck. So pull the wheel slowly and make sure the coupling is staying with the wheel and not with the final drive.
If it turns out that the coupling is staying with the final drive, there is a hole in the bottom of the final drive and you can stick a screwdriver up in between the final drive and coupling and pry the coupling free with the wheel. If this is the case, you will have to work at it. Turn the wheel a bit at a time as you pry at each pin.
|
|
The wheel is ready to pull.
|
|
|
|
You don't want to see this, the wheel pulls off the pins.
|
Use the hole below to pry the coupling out of the final drive
as you pull the wheel.
|
Once the wheel and coupling are free, you can pull the wheel out.
Note: old tires are fatter than new tires. You will probably have to deflate the tire to get it to pass through.
At this point, I take the wheel and coupling unit to the Honda dealer and have them install a new tire and valve stem and balance it. Also they clean the coupling and re-grease it for me.
Go to next page: Coupling cleaning and lubrication.
Go to: Rear tire change summary page.
Go to: Trunk lower trim removal.
Go to: Saddlebag removal.
This page: Wheel removal.
Go to: Coupling cleaning and lubrication.
Go to: Driveshaft maintainence.
Return to: Jim's Goldwing page.
Click here to E-mail me.